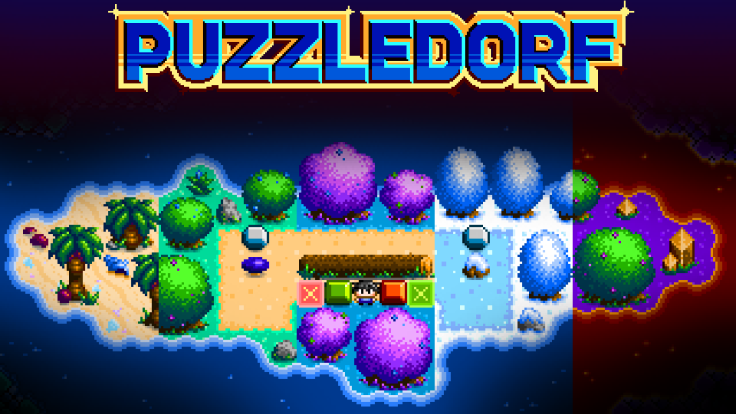
This tutorial teaches you how to resize Pixel Art in Photoshop. It’s something I did frequently while I was developing Puzzledorf. I still use Photoshop occasionally, but thankfully I’ve found a pixel art graphics tool that can quickly export your graphics to different sizes, so I use that program, Pyxel Edit, and also Photoshop in combination with each other.
Increase the Size:
- Open the image in Photoshop
- Press Crtl+Alt+i to open the Image Size Menu
- Change Resample to Nearest Neighbour

- Change the units to Percent

- Increase the size in mutliples of 100% eg. 200%, 300%, etc

Using Nearest Neighbour preserves the pixel quality. If you use one of the other options, Photoshop tries to smooth out the graphics, creating blurry pixel art. Below is a comparison of the right and wrong way.

If you increase the size of pixel art without following my guidelines, eg increasing by 150%, it will usually distort. Sometimes, however, it works (as long as you’re using Nearest Neighbour, and the larger the image, the better it scales), so it might be worth experimenting. The general rule though is increase by 100%.
Reduce the Size:
- You can’t resize pixel art lower than it’s native resolution and keep the pixel accuracy
- If you previously increased it by a multiple of 100%, then do the opposite. Eg, If increased by 200%, decrease by 50%
- Open image in Photoshop
- Press Crtl+Alt+i to open the Image Size Menu
- Change Resample to Nearest Neighbour
- Change the units to Percent
- Choose percentage to decrease by
Decrease ratio’s
| Increased by | Decrease by |
| 200% | 50% |
| 300% | 33.3% |
| 400% | 25% |
| 500% | 20% |


Thanks! you are a lifesaver!
LikeLike